Friday, July 27, 2012

3
Perspectives - A Photo Challenge

It's Round 2 of "Perspectives - A Photo Challenge" series. This week's photo challenge is "YELLOW".

These are my "YELLOW" color scheme photos:


Wild Flowers, Alburquerque, New Mexico

Balloon Fiesta, Alburquerque, New Mexico


The Hosts are:

Lena b Photography,
Agape Love Designs
When Shutters Click

I love this week's theme. Yellow is such a "Happy" color, which always uplifts my spirits. Let the Sunshine In!!!!


Saturday, July 21, 2012

8
Perspectives Photo Challenge

I stumbled upon Lena b Photography's Perspectives Photo Challenge. This is the first Photo Challenge of the series. The first linky party goes life Friday, July 20th.

Each week a "theme" will be choosen and 3 different photos representing that theme will be linked. This week's theme is "SUMMER". This is my first photo challenge and looking forward to linking my Summer Pictures.

Here are my interpretations of SUMMER:

Sand Castle Festival, Revere, Massachusetts

Bridge of Flowers, Shelburne Falls, Massachusetts

Balloon Fiesta, Alburquerque, New Mexico


The Hosts are:

Lena b Photography,
Agape Love Designs
When Shutters Click

I am looking forward to future Perspectives Photo Challenges.
Have a wonderful Summer!!!

Wednesday, July 18, 2012

34
Coconut Pineapple Cheesecake
Printable Recipe


I am super excited to participate in this Month's Get Your Chef On Blog Series. This month's secret ingredient is one of my favorite fruits; COCONUT.

For this Round 2 of the series a recipe must feature the main ingredient; Coconut for a chance to win ad space on each co-host's blog for two months. The Linky Party will go live on July 17th and Winner Announcement on July 24th.

I decided on a Desert Recipe with Coconut and Pineapple joining forces for a delicious creamy tropical cheesecake with a Coconut crust plus a Peach & Pineapple topping.

White Lights on Wednesdays

The Hosts are:

White Lights on Wednesday, Four Marrs & One Venus
</>
White Lights on Wednesdays


Ingredients:

    Coconut Crust:
  • 1 cup sweetened flaked coconut
  • 1/4 cup ground almonds
  • 2 Tbsp. sugar
  • 1/8 tsp. salt
  • 3 Tbsp. unsalted butter, melted
    Filling:
  • 2 (8oz.) packages cream cheese, softened
  • 3/4 cup crushed pineapple, drained
  • 1 1/4 cup sugar
  • 1/4 tsp. salt
  • 2 eggs
  • 1 tsp. lemon juice
  • 2 Tbsp. cornstarch
  • 1 tsp. vanilla
    Topping:
  • 1 cup crushed pineapple, drained
  • 1/4 cup peach preserves
  • 1/2 cup water
  • 1 Tbsp. lemon juice
  • 1 Tbsp. corn starch
  • 1 cup sweetened flaked coconut

Directions:
    Crust:
  1. Preheat oven to 325°F.
  2. In a food processor, process first four ingredients until mixture looks like a coarse meal.
  3. Add melted butter and process until smooth.
  4. Press firmly into bottom of a 9" springform pan. Wrap the pan with aluminum foil to prevent spills.
  5. Bake 10-12 minutes or until edges are lightly browned; remove from oven, let cool.
    Filling:
  1. In a food processor, process cream cheese until smooth. Add pineapple and process until smooth.
  2. Add sugar, salt, eggs, lemon juice, cornstarch and vanilla. Process until creamy and smooth.
  3. Pour into prepared pan. Place pan on a baking sheet and bake at 325°F for about 1 1/2 hours until center is set.
  4. Cool for about 1 1/2 hours.
    Topping:
  1. In a medium saucepan, combine pineapple, peach preserves, water, lemon juice and cornstarch. Mix together and cook over medium heat until mixture thickens and pineapple is soft. If mixture gets too thick, add more water, a Tbsp. at a time.
  2. Remove from heat and puree with a blender or food processor until smooth. I used an immersion blender for this step.


  3. Spoon pineapple mixture on top of cooled cheesecake and smooth evenly.


  4. Toast coconut in a small skillet over medium heat until it begins to brown, about 3-5 minutes.


  5. Remove from heat and sprinkle over the pineapple topping.


  6. Cover cheesecake and refrigerate until chilled, at least 6 hours or overnight.


  7. To serve, cut into wedges and garnish with pineapple chunks.


This was my first attempt at making a Cheesecake with fruit. It turned out beautifully, without a crack. The Coconut and Pineapple combination was wonderful. The topping was sweet and complemented the cheesecake nicely.

It may be hard to eat just one piece of this creamy cheesecake, but fight the temptation by sharing this recipe at your next gathering. I hope you give this recipe a try. You will not be dissapointed!!!


Have a great Summer!!!

Linking to: Today's Creative Blog


Wednesday, July 11, 2012

21
StarFish Coasters


Are you going to the Beach on your Vacation or simply imagining been there?? The Beach is a great source of inspiration when it comes to decorating your home for the Summer. I wanted to bring a bit of the Ocean into my home and Starfish Decor was the ideal choice.

I love the Ocean and everything around it. Starfish is one of my favorite Ocean findings and can be a creative addition to any craft project.

On a trip to a local retailer; I stumbled upon a package of Napkins with a great Starfish design.
Immediately I thought of using these Napkins to create a set of Coasters to bring a little Coastal Decor to my home.

Materials:
  • 4 - 4" Square Ceramic Tiles; purchased at Home Depot for 16 cents each
  • Mod Podge
  • Foam Brush
  • Decorative Napkins
  • Self Adhesive Pads or Cork
  • Clear Acrylic Sealer
  • Pair of Tweezers

Instructions:
  1. Using Tweezers, remove the outer layer of each Napkin.
  2. Apply a thin coat of Mod Podge all over the tile.
  3. Apply Napkin to tile. Smooth out with the brush or your fingers to remove any air bubbles.
  4. Fold the napkin edges towards the back of the tile. Smooth with the foam brush. Let it dry 5-10 minutes.
  5. Apply 2 more coats of Mod Podge all over the tile. Let dry 5-10 minutes between coats. Let dry completely before spraying the Acrylic Sealer.
  6. Turn tile upside down. Cut a piece of furniture pad or cork to fit the tile and apply it to the tile. For extra protection, spray a few coats of Acrylic Sealer all over the tiles. Let dry completely before using tiles.

I love my Starfish Red and Blue Color contrast. After the Summer ends, these coasters will remind me of the warm and fun times I spent at the Beach.


Life is a Beach. Enjoy your Summer.


Linking to: Today's Creative Blog

Tuesday, July 3, 2012

15
Strawberry Whipped Sensation
Printable Recipe


The "DOG DAYS" of summer are here to stay!!! 4th of July is just days away. A refreshing frozen dessert is always welcome to beat the heat. This Strawberry Whipped Sensation recipe was featured in the Summer 2008 Kraft Foods Food and Family Magazine. Find the archived recipe HERE.

I modified this recipe by adding Blueberries and one extra tub of Cool Whip Whipped Topping. I also decided to add food coloring to whipped topping, which I used to decorate the dessert.

Ingredients:
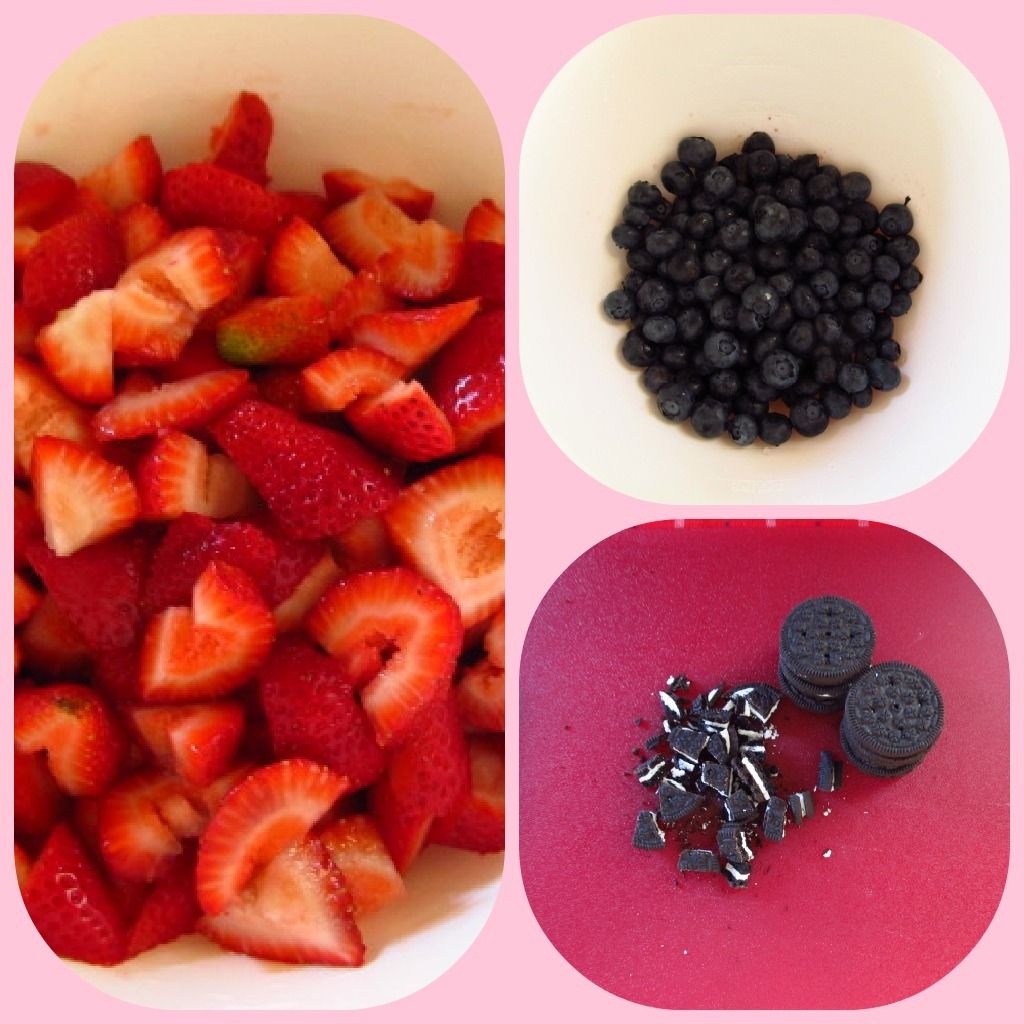
  • 2 pkg. (1 lb. each) fresh strawberries
  • 1 Pint Blueberries
  • 12 Oreo Chocolate Sandwich Cookies
  • 2 cans (14oz. each) Eagle Brand Sweetened Condensed Milk.
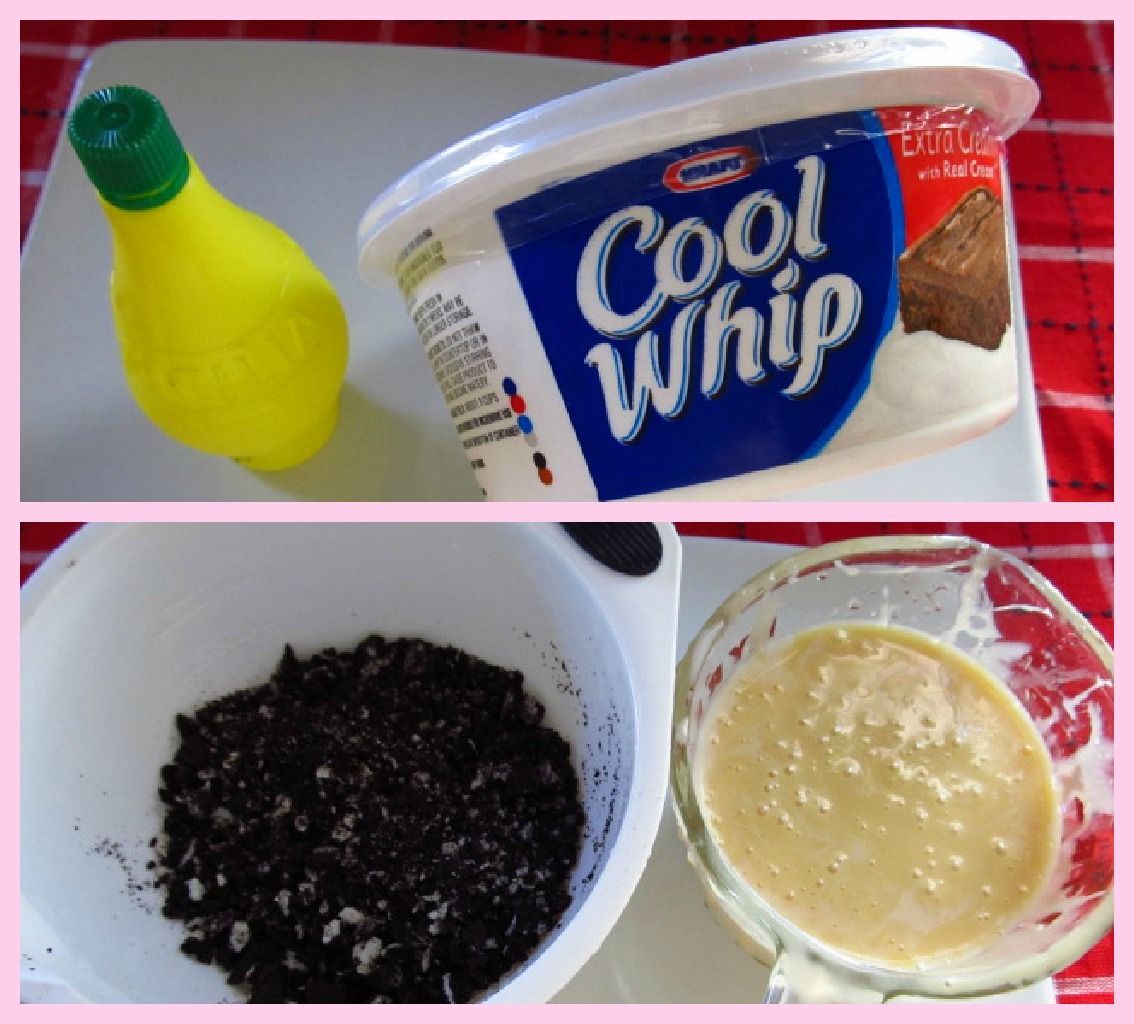
  • 1/4 cup lemon juice; divided in half (2 tbsps. each half)
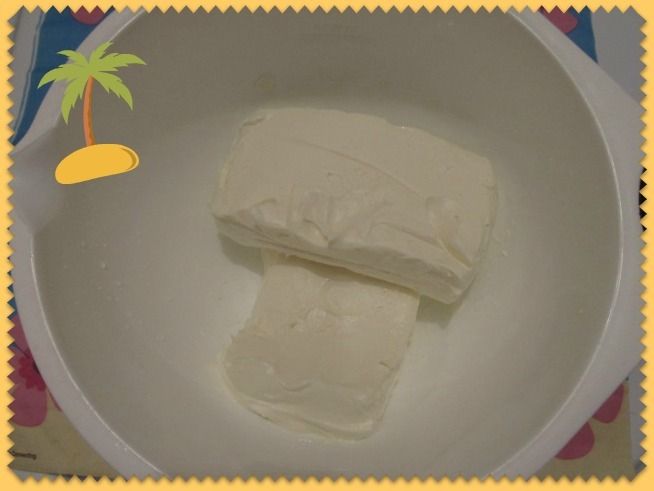
  • 2 tubs (8oz. each) Cool Whip Whipped Topping, thawed. I used one for the whipped mixtures and the other one to frost and decorate the dessert.
  • 1 1/2 tbsp. melted butter
  • Red and Blue Food Coloring
  • Sliced strawberries for garnish

Other:
  • 12" X 6.5" foil loaf pan
  • Large piece of foil to line the loaf pan
  • 2 Decorating disposable bags with tips #5 and 2D

Directions:
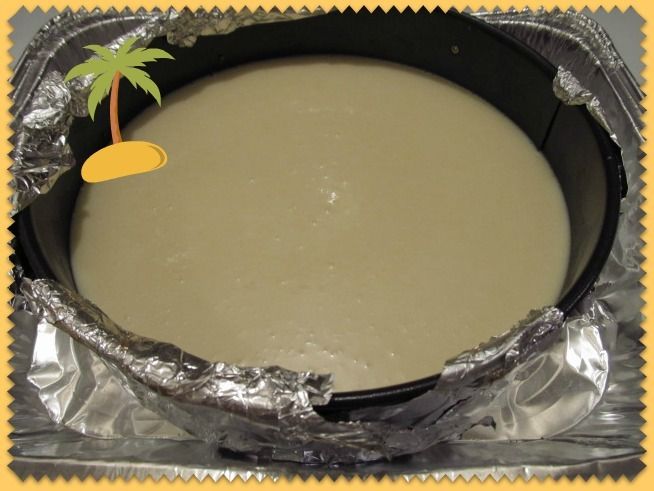
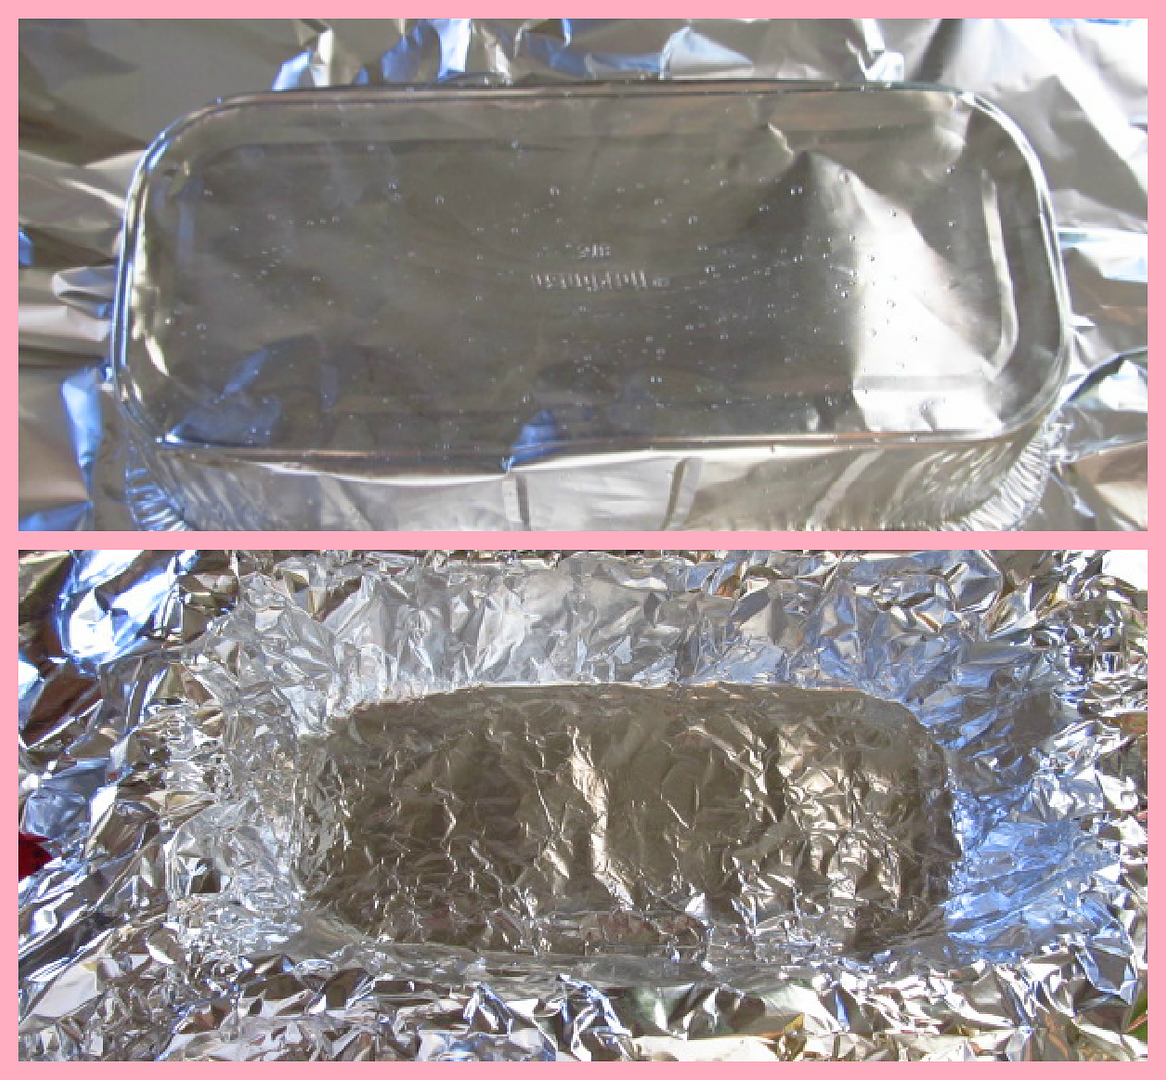
  1. Shape foil onto outside of loaf. Line pan with shaped foil.
  2. Whipped Fillings:
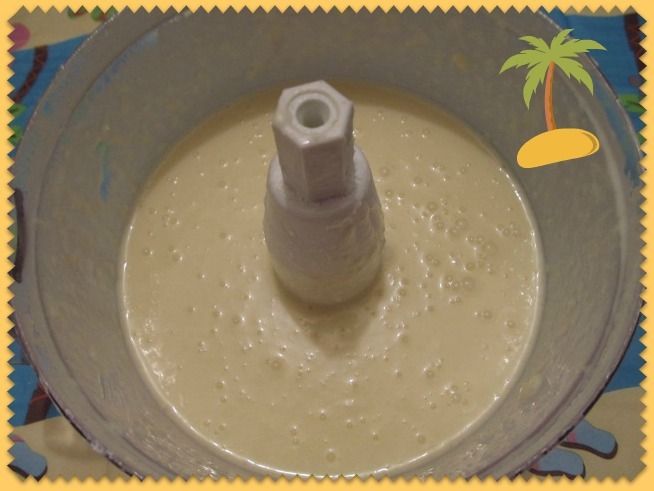
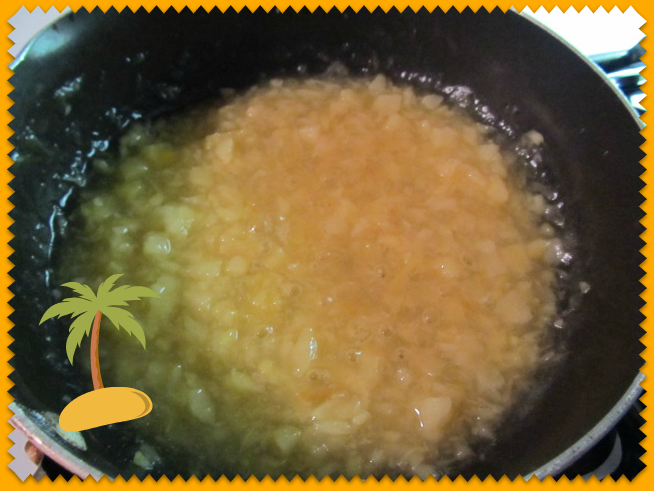
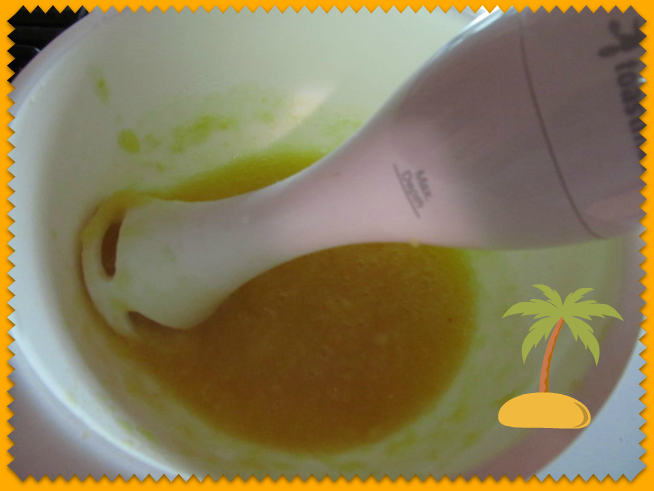
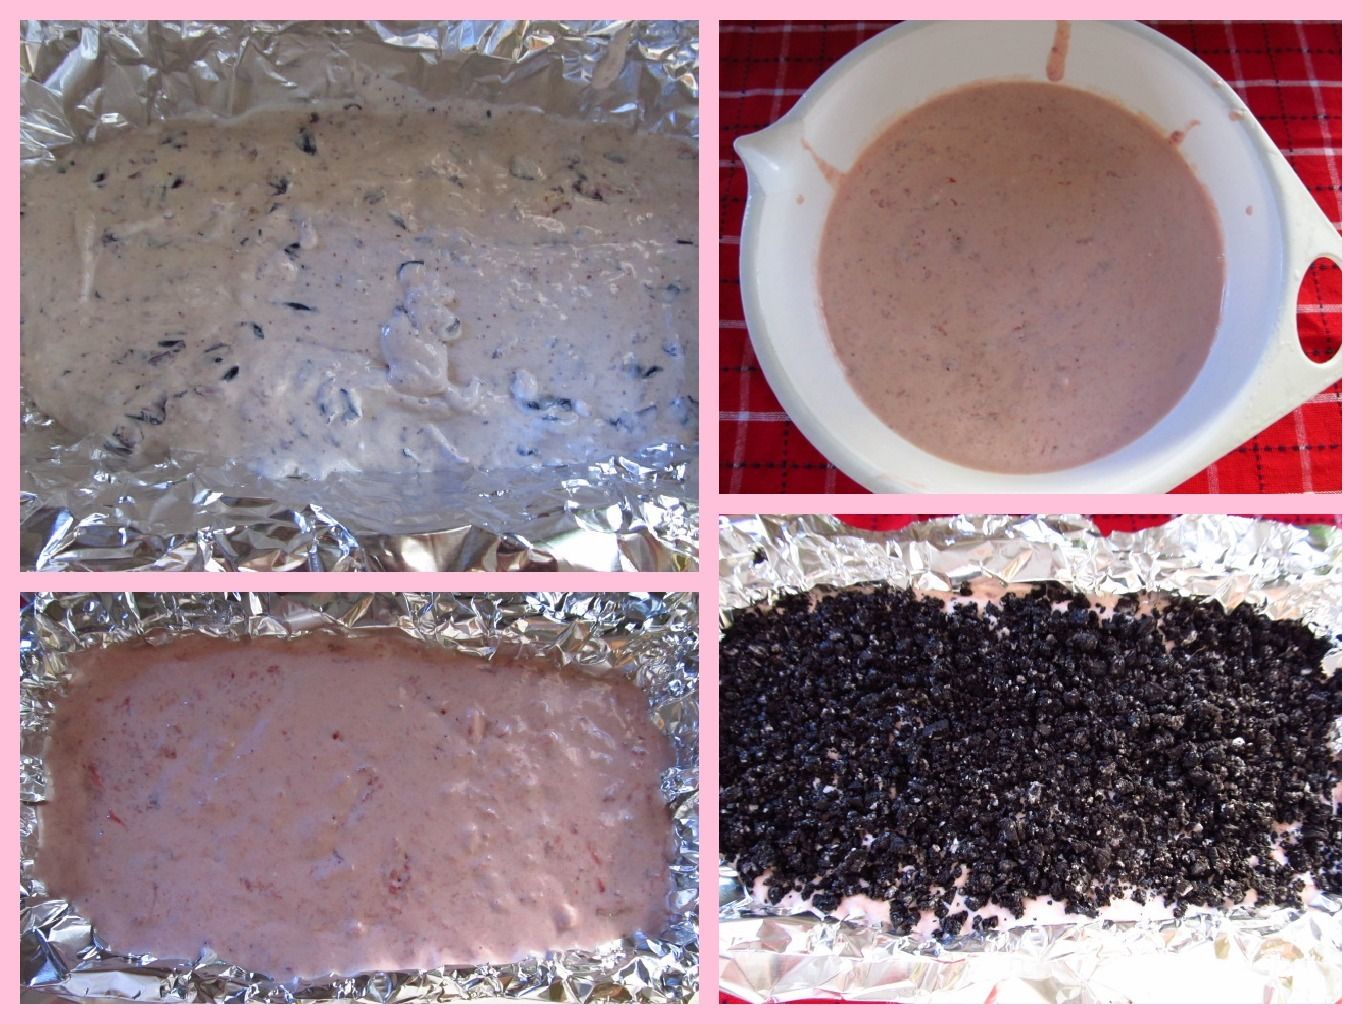
  3. Mashed the Strawberries and Blueberries in two separate bowls.
  4. Add 1/2 cup of condensed milk and 2 tbsps. lemon juice into the mashed blueberries; add 1 cup of Cool Whip. Stir until mixed.
  5. Add 1 cup milk and the lemon juice to the Mashed Strawberries. Add remaining cool whip, stir. Save remainder milk for another recipe.
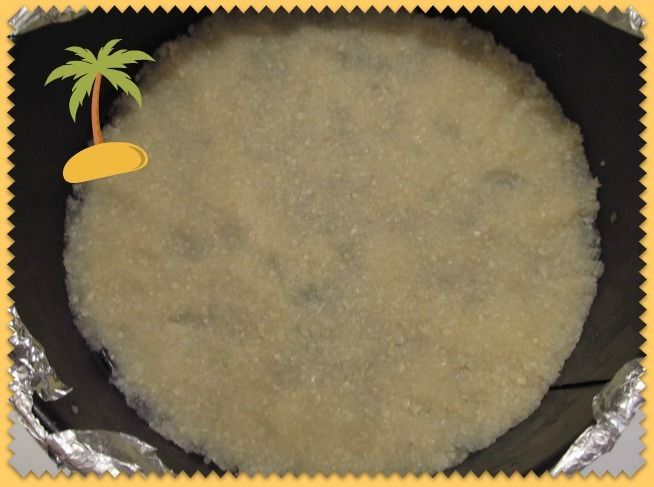
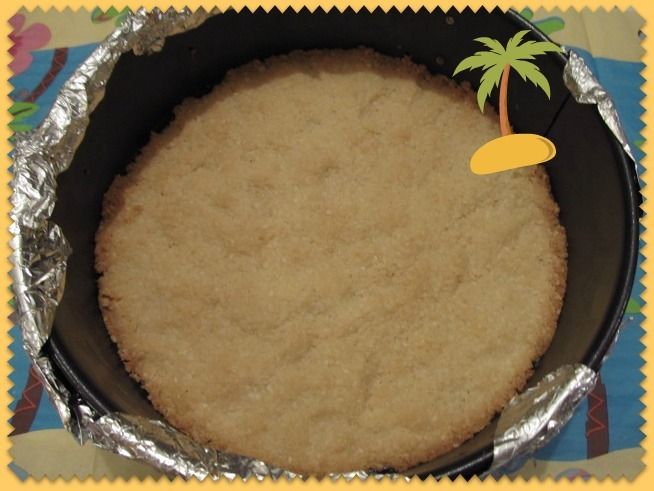
  6. Chop cookies and combine with melted butter.
  7. Pour the blueberry mixture into the prepared loaf pan followed by the strawberry mixture.
  8. Spoon cookie mixture over the whipped strawberry.
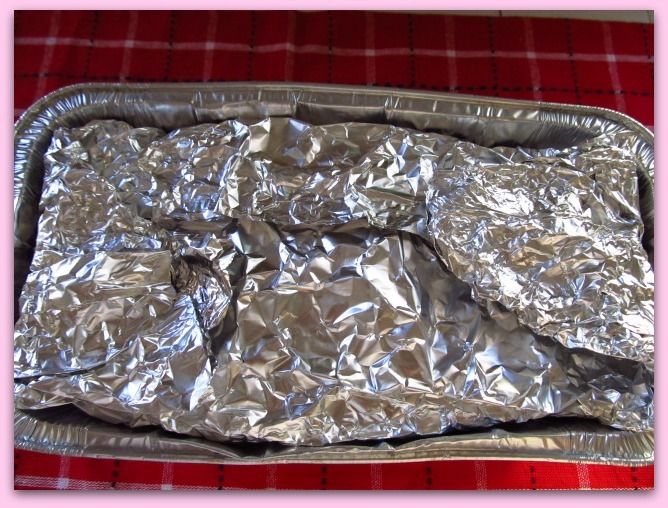
  9. Cover loaf with foil ends and press down gently.
  10. Freeze 6 hours.
  11. Finishing:
  12. Reserve 1 cup from the second tub of Cool Whip.
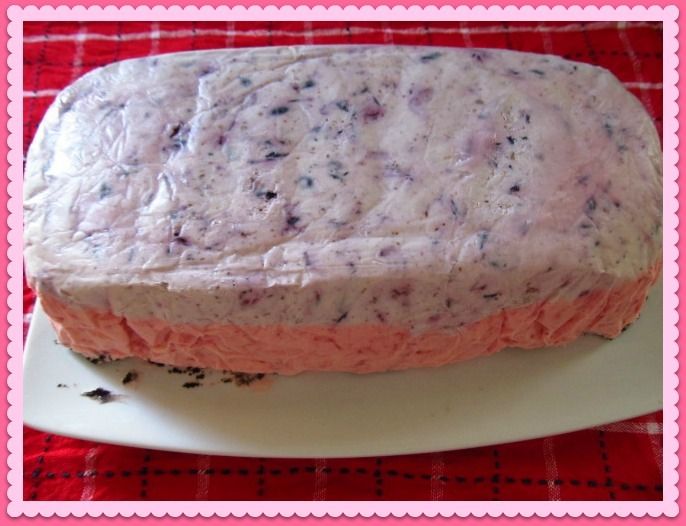
  13. Turn dessert upside down onto your serving dish.
  14. Remove pan and foil.
  15. Spread remaining Cool Whip onto top and sides of dessert.
  16. Mix 1/2 reserved Cool Whip with 1-3 drops of Blue food coloring and fill a decorating bag with tip #2D.
  17. Mix remaining Cool Whip with 1-3 drops of Red food coloring and fill the second decorating bag with tip #5.
  18. Write your favorite words or phrases with Pink whipped topping.
  19. Pipe small stars around the bottom and on top of dessert with the Blue whipped topping.
  20. Freeze dessert until ready to serve.
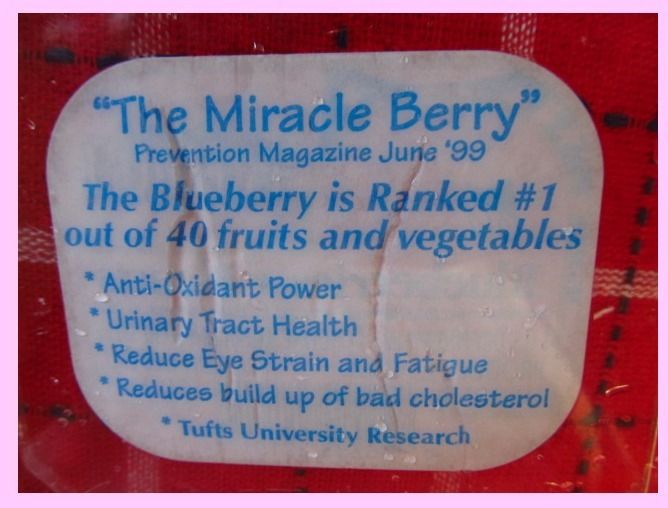
The combination of the two Berries looks awesome and tastes fabulous. Blueberries are also called, "The Miracle Berry". The package I bought came with an informative label. See below....


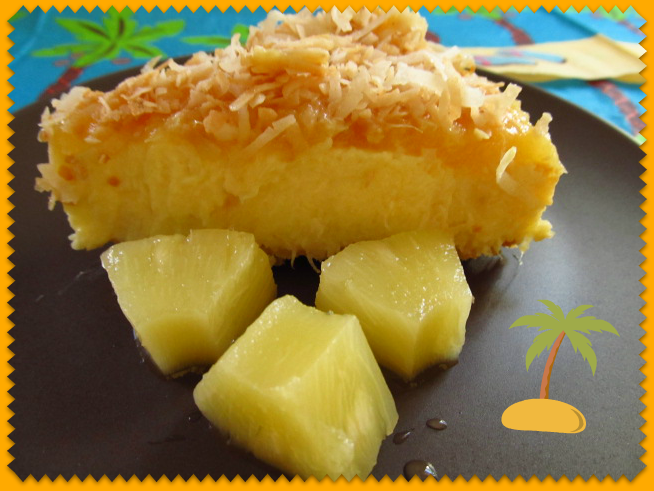
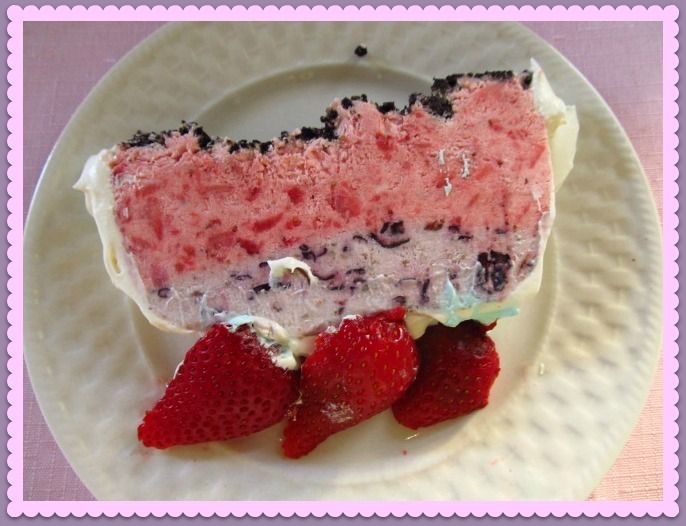
I have enjoyed making this recipe since the Summer of 2008 and it has become my favorite Summer Frozen Strawberry dessert.

Add sliced fresh Strawberries with each serving.
Now I am going to have a piece and savor every bite.


I hope you give this recipe a try.

Happy 4th of July !!!!

Linking to: Today's Creative Blog

Pin It button on image hover