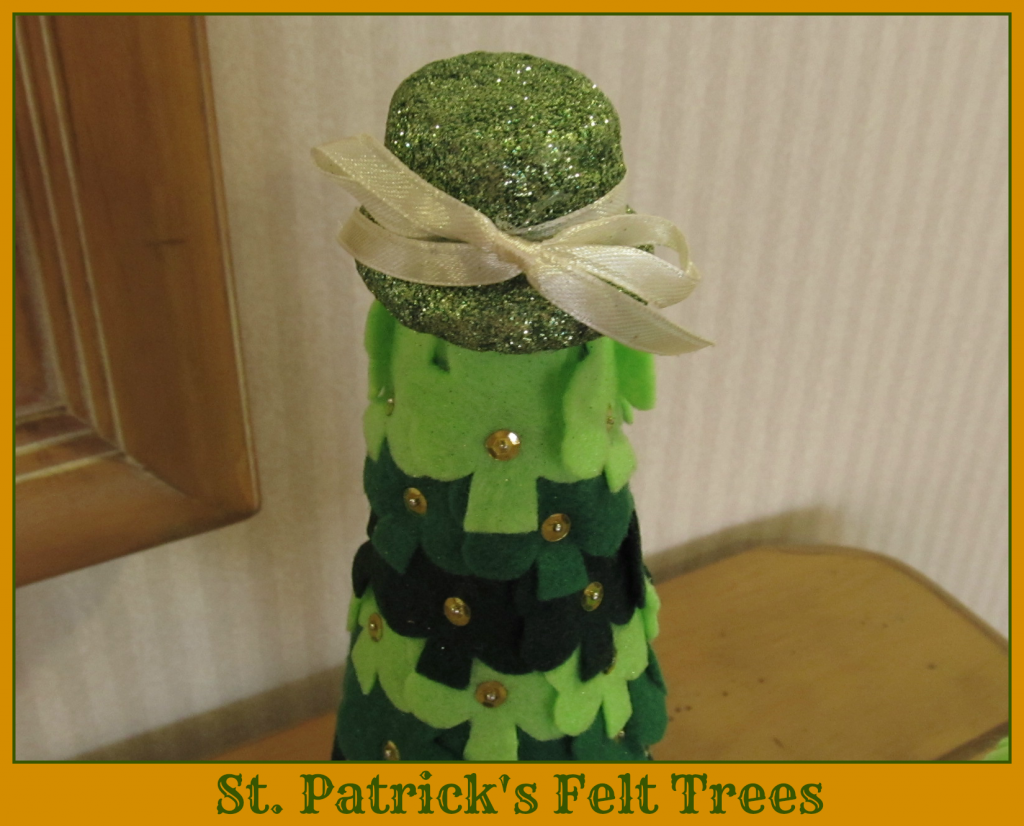
The 8th Annual Bead Soup Blog Party is on its way..... There have been so many interesting and beautiful Soups sent and received. The choices of Focal, Clasps, components and color schemes are amazing. I can't wait for the Reveal Day to see all the wonderful creations...
I am so excited to be participating for the first time in Lori Anderson's Bead Soup Blog Party. I have been partnered with Lori Callahan. Our partnership is special as I am the first Jewelry Maker Lori has met online who resides in the same State.
Lori started Jewelry making in the late 70's, after landing her first job at a Bead Shop. Lori's latest passion is Bead Embroidery. She loves this beading method and has created a few pieces that have encouraged her to continue perfecting the skill...
Lori started Jewelry making in the late 70's, after landing her first job at a Bead Shop. Lori's latest passion is Bead Embroidery. She loves this beading method and has created a few pieces that have encouraged her to continue perfecting the skill...
Lori and I have been chatting online about our passions, family and life itself. She shared two of her Facebook Jewelry photo albums. Her jewelry work is beautiful. This is one of my favorite pieces... The color scheme of this Necklace is amazing!!
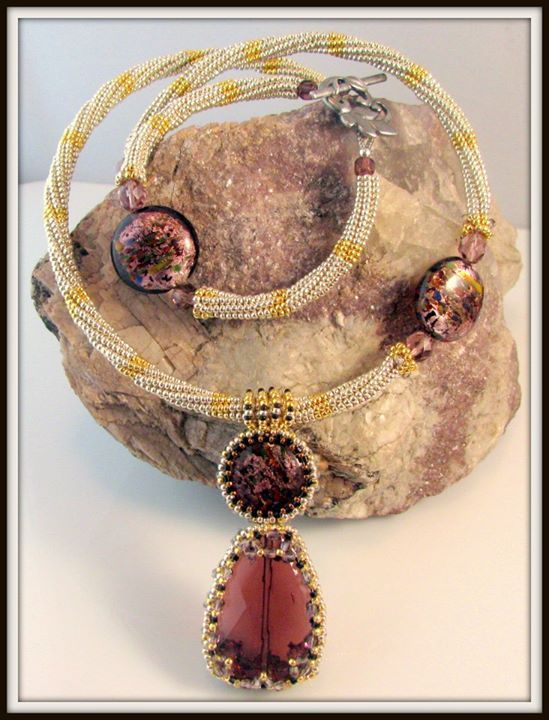
Come visit Lori's Facebook page HERE to see more of her beautiful Jewelry.
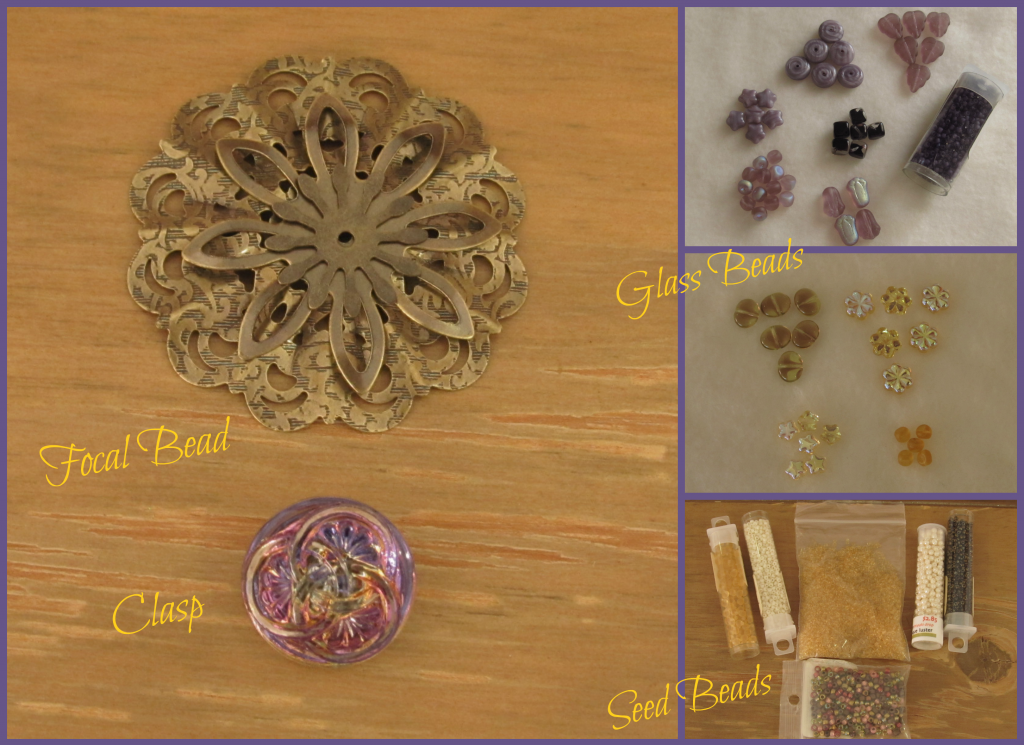
Lori sent me a wonderful Bead Soup, including a beautiful Metal Filigree Pendant. The Clasp she chose is a beautiful Shank Button, which complements the rest of her Soup components. Here is the Soup I received from my partner Lori....
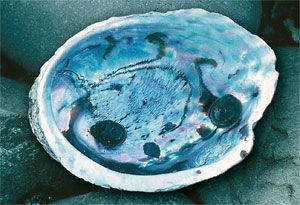
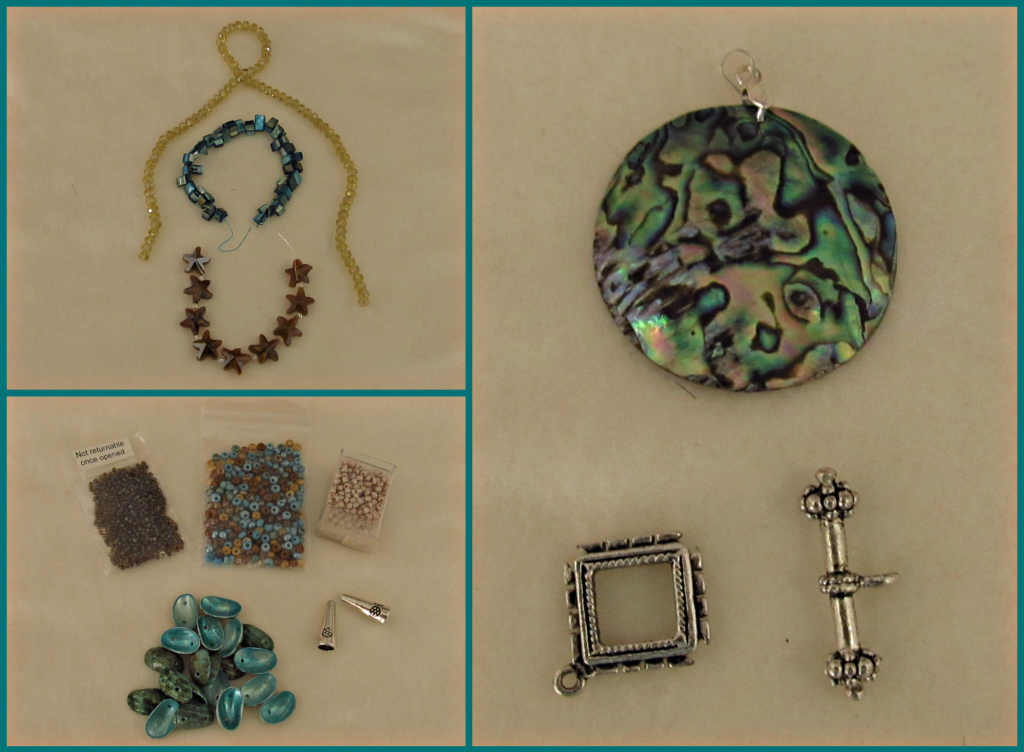
I decided on a Summer Themed Soup for Lori and am thrill to know she has wanted to create some Beach Themed Jewelry. My soup included an ABALONE Shell Pendant, along with Amber Glass Starfish, Aqua Shell Nuggets, Glass rounds and various Seed Beads... Here is the Soup I sent Lori.
I hope Lori has fun with my Soup Ingredients.
I can't wait to begin creating my piece.
Happy Beading!!!
I can't wait to begin creating my piece.
Happy Beading!!!